
This week, Benchmark’s resident Fixpert, Maya Alvarado teams up with Benchmark’s cabinetmaker Max to fit the Red Cross fix, they bring pre-fabricated parts on site and prepare the new storage system ready for use…
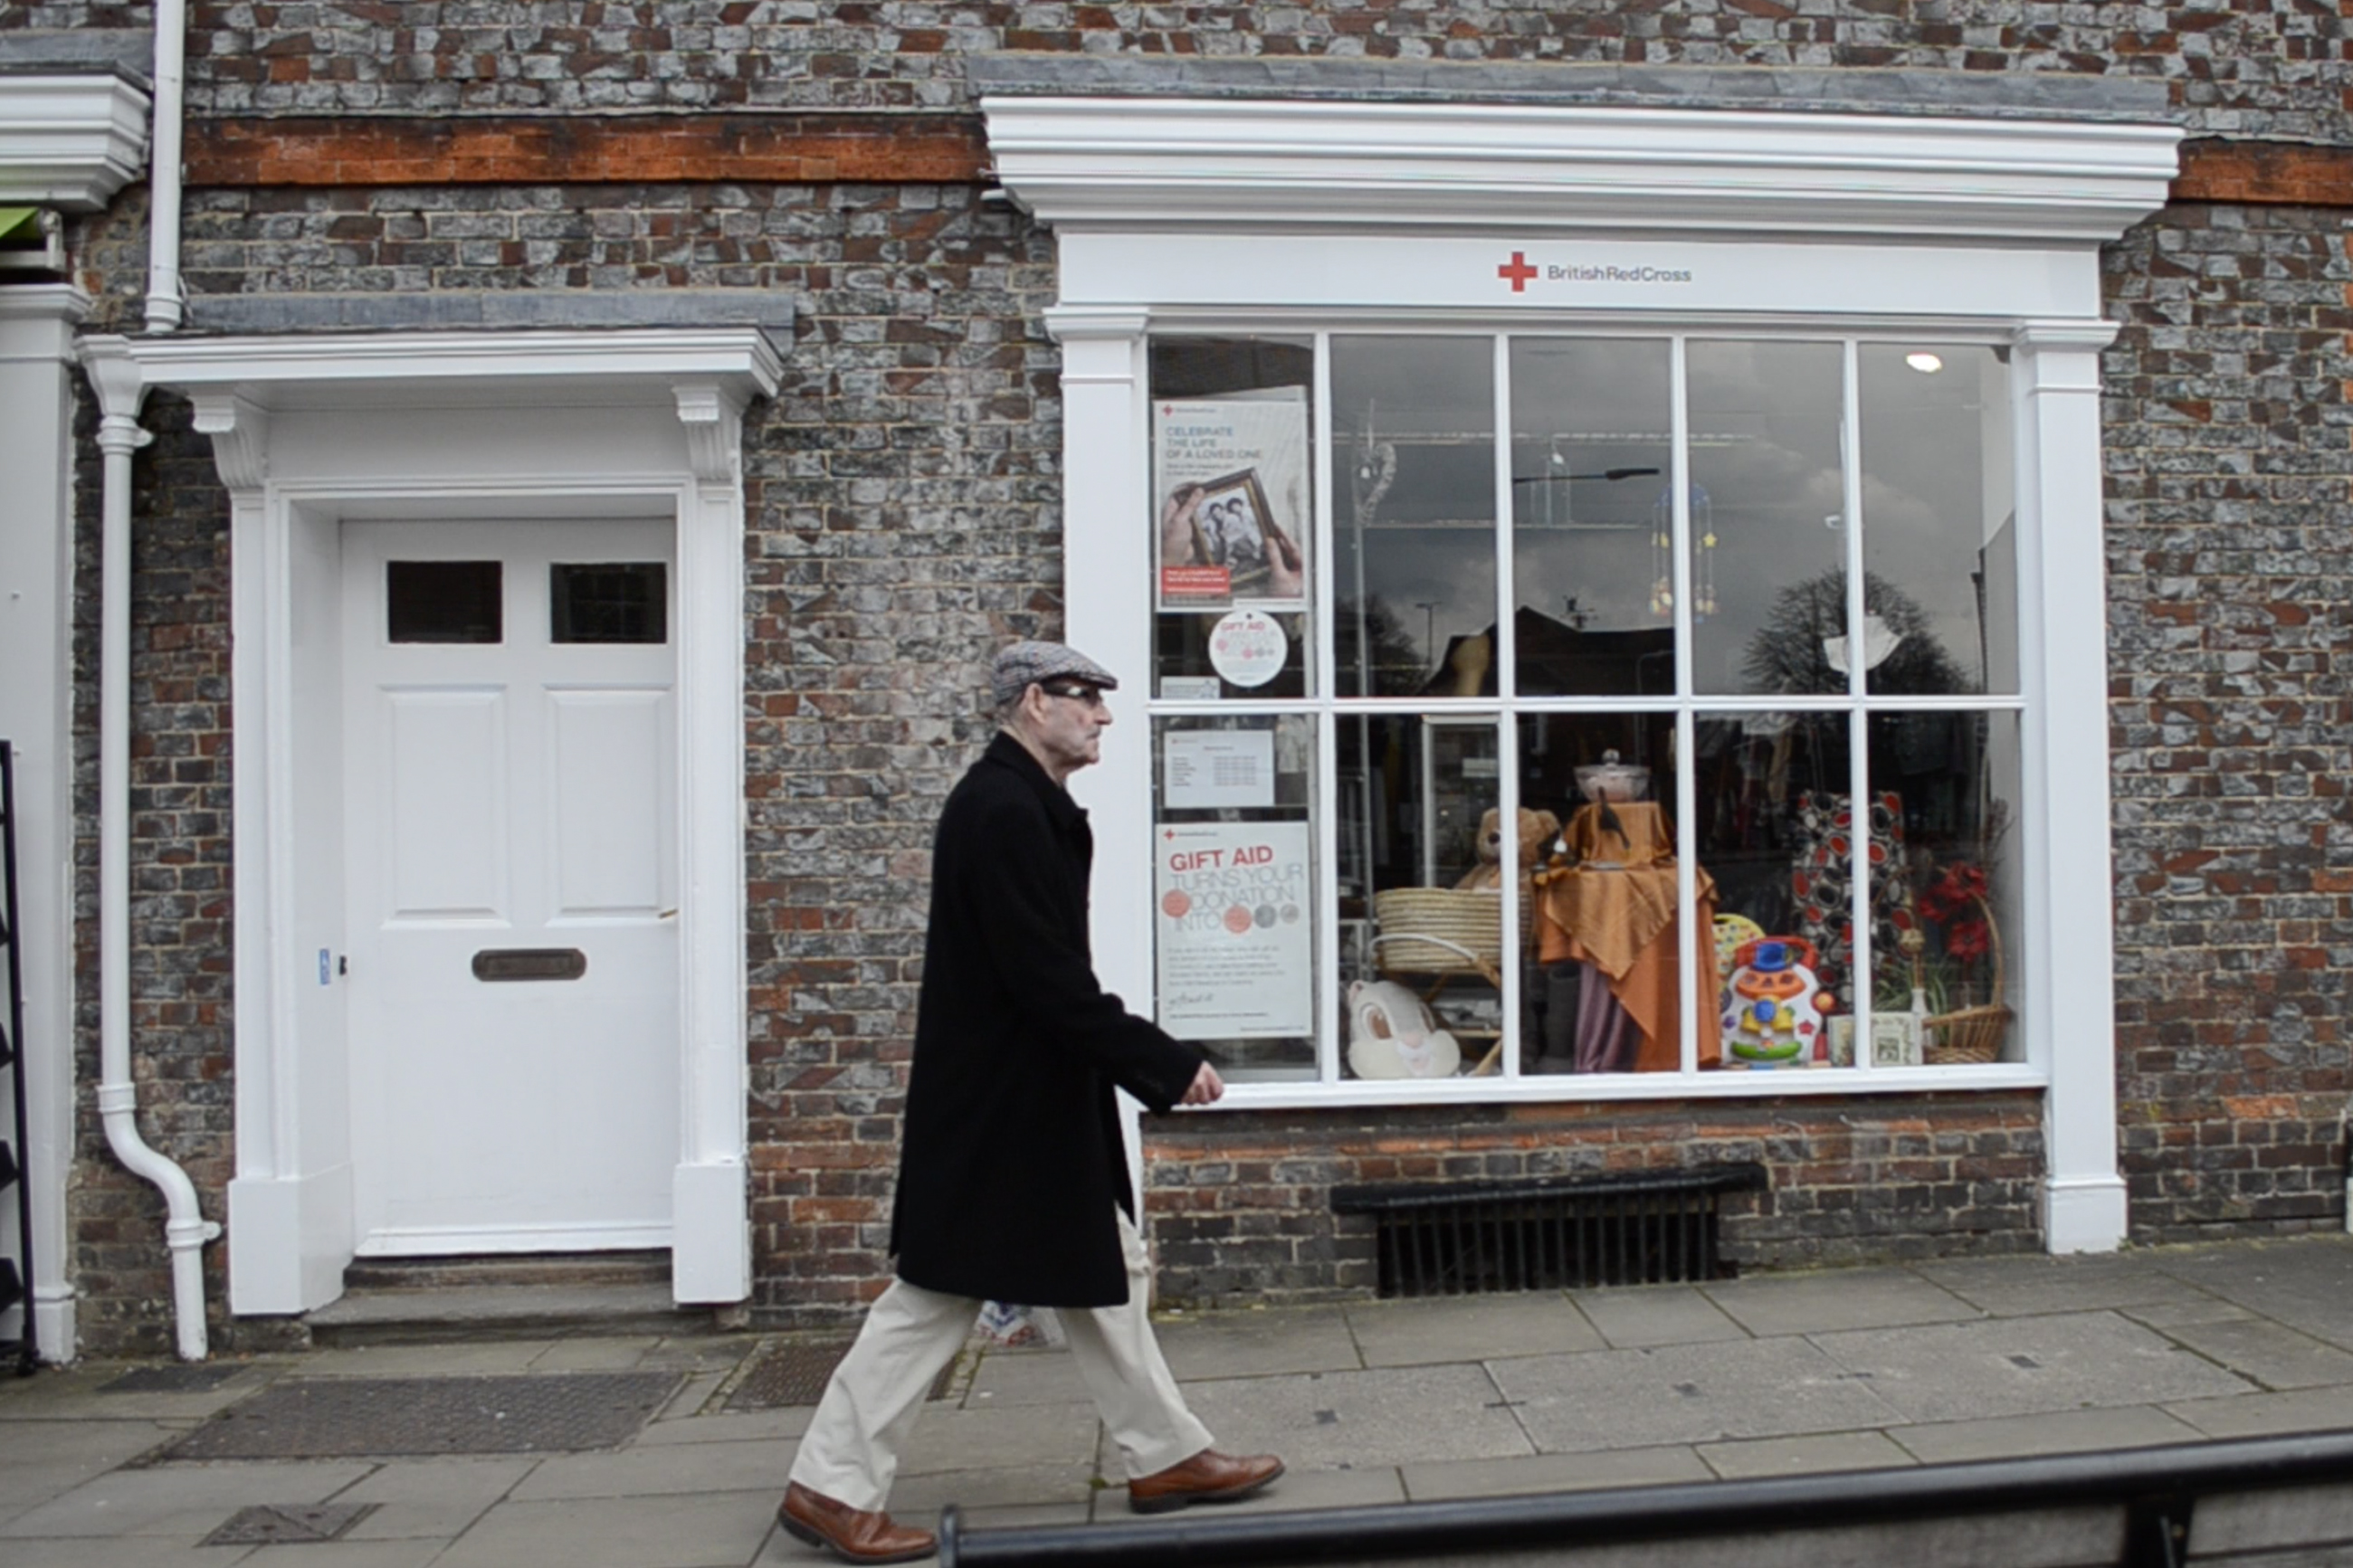
09:00: It is Saturday morning, having collected the materials and tools from Benchmark’s workshop, Max and I arrive for opening time at the Red Cross charity shop, Hungerford. Today we will fit the storage system fix to provide more space and easy access for donations.

09:30: Once we have brought all of the tools and pre-fabricated parts into the shop, we begin by removing black bin liners full of donations from the area we will be working in. These are usually packed tight and stacked high, which can prove dangerous and difficult when the team here need to access a bag.

09:45: I remove the existing shelves from their supports because the new ones we are putting in are longer to maximise the space for storage.

09:55: The bags contain donations, which have been sorted, washed, dried and packed by the Red Cross’ staff and volunteers. They are ready to hit the shelves when the season is right and the need for replenishing occurs. They are currently stored upstairs among an array of unsorted items. In order to create more accessible space for separate donations, the new storage system will be made up of four rows of shelving, divided down the middle by the existing partition. We take down the original ‘Winter Stock’ label.

10:00: Currently there is some plastic string that holds all of the bags up vertically – placing a lot of tension on the material. When one bag needs to be collected, the string is undone causing all of the bags to fall down. The new system will separate the load into quarters – each shelf holding up to three large bags. By extending the shelves, we will provide more space. The inclusion of elastic bungee straps across each shelf at diagonals will hold in any bulging bags, maximising the amount that can be stored. I untie the plastic string and remove it from the baton overhead.

10:10: We clear away the excess materials from the area, ready to work.

10:15: Working from the top of the baton downward, we measure and mark evenly spaced shelving to prepare the wall supports. We will work off the existing supports and extend them in width and length to hold the weight of each new shelf safely. Max has a good fix tip to ensure that the screws sit in the wall securely: he cuts up a rawl plug into slithers and fits it into another rawl plug in a predrilled hole, so that the screw locks into both and has a very snug fit. We will use this technique when screwing the softwood supports to the brickwork.

10:30: To extend each support, we drill holes straight through the softwood, hold them up to the baton and drill through to mark the wall. Next, taking away the softwood, we drill pilot holes straight into the brickwork ready to receive each screw.

10:40: I hold the pieces of softwood tight to the wall in the correct position and screw them to the wall.

10:45: Max and I continue this process, using one predrilled softwood block as a template to prepare the others.

11:00: Having successfully extended the supports, we use a spirit level to get the width extension blocks in position. The intention is to create a greater surface area for the shelves to sit on, given that they will each be taking quite a substantial amount of weight.

11:15: In addition to the existing shelf supports, we add one more row at the top – now we are ready to position the shelves.

11:45: As it is an old building and the walls are not totally even, the shelves sit slightly proud at certain points, so Max marks an exact line of material to remove. We planned them slightly oversized so we would be able to do this – had they been too narrow, we couldn’t have resolved it as easily.

11:55: Using a jigsaw, we cut away the excess using a stepladder as a workbench.

12:05: The first shelf sits in tightly and I use a spirit level to check that it is straight. Once in the correct position, we screw the shelf down to its supports from above.

12:20: Following the same process, we measure the space for the next shelf and get it down to the right size and into position.

12:40: With the first row in successfully we know that the process works, so we start to attach the rest of the width extension blocks.

12:50: It is wonderful to work with Max. He has been very generous in sharing his skills and giving me confidence to do more site specific projects. It is great to learn the little tips for making things fit on the day – those that can be applied to other projects. Max screws in the final width extension blocks.

13:00: We place in the other shelves, trimming them to fit the wall where necessary. Again using a spirit level we check that they are straight, and also that the front stands line up. These are there to keep the bags in place and are what we will connect the eyehooks and bungee cords too, rather than the edge of the MDF (medium density fibreboard) which can be feathery and crumble.

13:30: With all the shelves up, we place the ‘Sorted Unsorted’ sign along the top edge. This will communicate to the permanent staff and the volunteers who are not working everyday, what still needs sorting and also where to allocate items. Max holds it in place and we mark where the screws will go. Taking it down again, we drill clearance holes (bigger than the screw) into the sign, and pilot holes (slightly smaller than the screw) into the baton framing to accept the screws.

13:45: We place in the final screws and tug on the sign to ensure that it is locked into place.

14:00: I have bought some eye-hooks large enough to fit the hook ends of the bungee cords in. By hand, we twist these into pilot holes at each corner of the shelf up stands – using a pair of pliers to make the final turns. Sadly the bungee cords haven’t arrived yet, so we can’t add them today, but I will come back to put them in place during the week and get manager Anne’s feedback for the system.

14:40: We pack up the tools and material offcuts and take them to the van and hoover up the sawdust to leave the area nice and tidy.

15:00: It has been a successful day and we are both really excited to hear Anne’s feedback in the week ahead. We leave the Red Cross and head back to Benchmark to offload the van.